I love short game situations. There are so many choices and not a lot of “rights versus wrongs” — it can be the best display of creativity.
But sometimes we all “mix the fundamentals” of one shot with another, and the short game shot we were hoping to gracefully see head toward the cup ends up either zinging across the green or landing well short because we “chunked” it.
Here’s some help.
Let’s chat about three common shots: The Pitch/Lob, the Pitch and Run, and the Chip.
To help separate how you might set up for each shot, we’ll start with your likely intention.
Once you know what you want to do to approach the cup from around the green, depending on where you are and what you might have to go up, over, or through, we’ll make sure you have a checklist of sorts to help you create the shot. Half the battle is committing to the type of shot (how much height/how much run out).
This alone leads to a higher chance of success when your goal is to get up and down from off or near the green.
I like to envision aircraft approaching the green.
If you can imagine a helicopter landing on a helipad, on a crowded city building rooftop, you will think of this coming in from high and settling calmly on top of the building. This is a great “picture” for a pitch/lob shot, as in Photo 1…it is like an underhand pitch in softball, too. Think maximum time in the air, minimum time on the ground.
Next, almost the polar opposite of the pitch/lob shot is the chip shot. For this shot, see if you can imagine (from the fringe around the green) a large 747 airplane touching down on the runway and taxiing out after landing, to eventually slow at the end of the runway before turning around to park at the terminal gate. This large plane comes in low and still has speed upon touchdown before slowing (Photo 2) … the end of the runway is the cup! Think minimum time in the air, maximum time on the ground.
In essence, you can also see it as two targets of sorts: the touchdown point and the eventual stopping point, which is the cup.
Depending how much green you have to work with, you can potentially use the same simple stroke and just change the golf club based on some carry and roll info. Every club has a carry and roll ratio in a chipping situation; knowing in general what these are can help you commit to the club you believe in before you create the shot. Again, half the battle.
Finally, if you are off the green with more than wide fringe in front of you, you might imagine a corporate plane coming into a private airport (Photo 3). That plane won’t need as much runway upon landing…it can touch down and taxi to slow, then to stop, in a shorter distance. The touchdown point of this plane is the pitch (kind of a medium height shot) and the smooth-to-slowing taxi part is the run for the pitch and run shot.
Lob, sand, pitch, and gap wedges are generally good club selections for this shot. The pitch and run can be an excellent percentage shot (versus the high pitch) because you can take less swing and less can happen that might be unfavorable. I like to refer to this as the “in-betweener” shot: not quite as high as a pitch/lob and not quite as low as a chip shot.
Here are some considerations for these three short game situations:
Pitch/Lob
- Ball in middle or forward of center, depending on height and distance desired
- Hinge elbow and wrist to form a letter “L” on both sides of the body. The shape of the swing may appear to be a steeper vertical “V”
- Shift and turn to finish facing left the target
- Smooth rhythm/timing/tempo/balance for finesse using a gravity drop feeling
Pitch and Run
- Ball in middle or back of center, depend-ing on touchdown point on green and amount of green you have to work with
- Move your hands down the grip end of the club halfway to shorten the club for control
- Slight hinge of elbow and wrist to have the shape of the letter “U.” Waist-high to waist-high matching swing sides.
- Quieter shift and turn to finish with body facing slightly left of target and club at target
- Smooth rhythm/timing/tempo/balance for tension free touch and small swing-ing motion
Chip
- This is a putt with a flying start…kids love to call this a “PuttChip.”
- Steady body with a confident arms/hands swing with minimal wrist hinge to prevent too much backspin
- Ball slightly right of center/handle end of the club has slight lean forward to help keep trajectory low
- Move your hands down the grip end of the club to shorten the club like a putter
- Clubhead does not get higher than your knees on both sides of the swing/stroke.
- Don’t be afraid of a small assertive
- “Pop” at the ball/bottom of swing to help the ball touch down before it starts to taxi to the hole
Some ratios to consider for chipping in a carry-to-roll picture: 9 iron is 1:3 (ball touches down at your carry of “1” and rolls out 3 more), 8 iron is 1:4, 7 iron is 1:5, and so forth. If a pitching wedge were still numbered in the set, it would be marked as a 10 iron and the sand wedge would be an 11 iron: 1:2 and 1:1 carry and roll ratios, respectively. The ratios can give you a good starting point before looking at other things (slope, the wind, green speed, etc.).
I hope these images help you create these three shots with ease. Your score will be significantly improved if you can pull these shots off with grace and touch. Think of each of these shots as your first putt — if you get good with these, you will two-putt more often.
LPGA Master Professional Deb Vangellow teaches at Riverbend Country Club in Houston, Texas. She is the 2012 LPGA National Teacher Of The Year, an LPGA and Golf Digest Woman “Top 50” Teacher, a Golf Digest and GOLF Magazine “Top Regional Teacher,” a US KIDS GOLF “Top 50 Master Kids Teacher” and a GRAA “Top 50 Growth Of The Game Professional.”
Photo 1: HeliHead/Shutterstock. Photo 2: Rebius/Shutterstock. Photo 3: Alexey Repka/Shutterstock


 FOR THE STANDARD SHOT
 The Motion
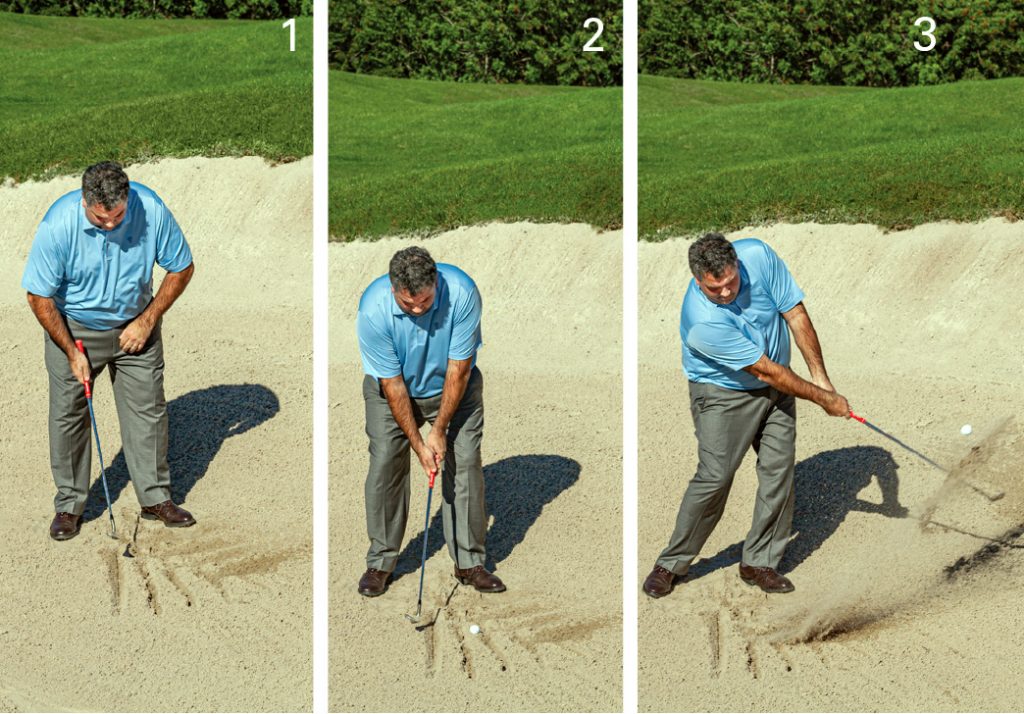
 We’ve all heard “quiet hands” when it comes to chipping. What that really means is the muscles in your arms should be more active than the muscles in your hands. The easiest way to feel this separation is to take the thumb and index finger of your trail hand off the club when practicing chips. Using the muscles in those fingers are great for writing or throwing, but are very often the culprits to miserable chip shots. By removing these fingers from the grip you’ll take the flip move out of your swing, create a wider – more forgiving – impact area, and get up and down more often.


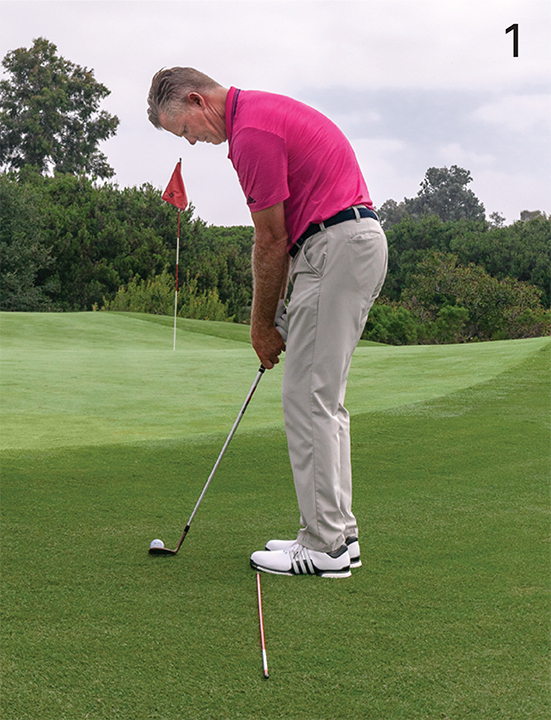
 At Address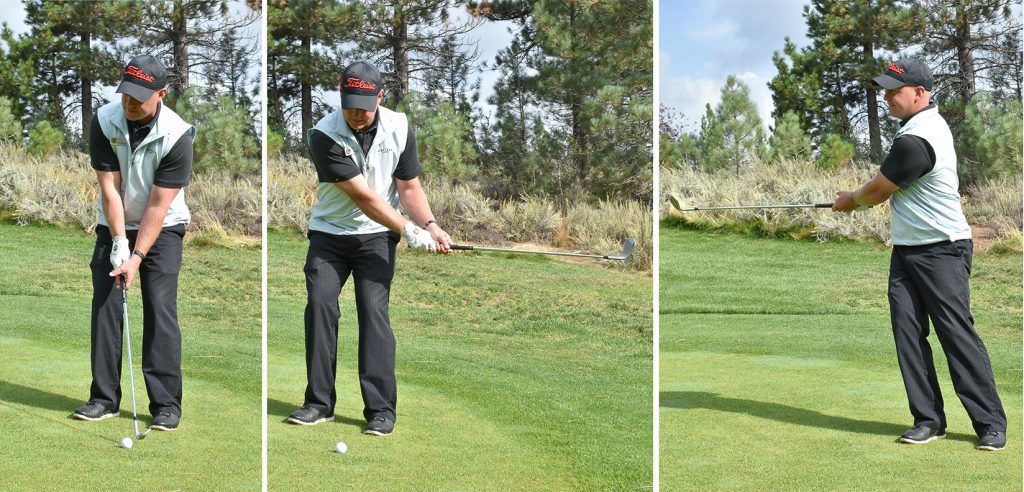
 UPHILL


 Most of you struggle with your golf short game because you swing the club too far inside on your takeaway. When we videotaped the best short game players we found when the club reaches parallel to the ground on the takeaway the club was parallel to the target line.
 So how do we learn the “On Plane” takeaway? Put an alignment rod on your toe line parallel to your target (Photo 1). Then dress-rehearse the takeaway several times, where you stop when the club is parallel to the target line and above the alignment rod (Photo 2). This takeaway blends the right amount of inside takeaway with the proper attack angle coming back into contact.
 Many of you hit behind the ball because the club is coming in too shallow from your inside takeaway (Photo 3). That causes the chunks you leave short and skulled balls across the green. Some of you might be swinging the club outside the plane (Photo 4), but usually this doesn’t happen because the deeper divots you make don’t lead to many good shots.
 Once you have mastered this takeaway, try to hit the ball with that specific length swing, as I’m doing in Photos 5-7. We call that “Blocked” practice. You really shouldn’t hit to a target when you are working on your technique, but just work on proper contact and hitting the ball on the intended target line.
 Now that you are comfortable with this technique, you can start using other clubs and other swing lengths to hit to various targets. But what you have done in ingraining the proper takeaway that will lead to better contact.


